
Having a dry or bland Thanksgiving turkey can ruin the entire holiday. So, in today’s blog, I will teach you how to make the best Thanksgiving turkey you’ve ever had. So instead of having a dry, bland turkey, yours will be crispy, juicy, and flavorful. The recipe I’ll share with you today is the recipe I used to make my turkey last year, and it was by far the best Thanksgiving turkey I’ve ever had. So, here’s the recipe!
Thanksgiving Turkey Ingredients:
- 1 Turkey
- Kosher Salt
- Lemons
- Peppercorn
- Celery Salt
- Rosemary
- Thyme
- Sage
- Butter
- Mayonaise
- Chicken Stock
You can add any other spices or herbs you’d like, but these are the ones I use! Remember that herbs and spices give your turkey flavor, so don’t be afraid to use them!
Day 1: Brine (Tuesday)
To make the perfect Thanksgiving turkey, you must prep your turkey for a couple of days. The first step is to brine your turkey. Ensure the inside of your turkey is empty and all the innards are in the fridge (if you want to use them for other dishes). In a pot large enough to fit your entire turkey, fill about a quarter of the way with water. Add your kosher salt (I usually use 1 cup per gallon of water that will fit in the pot. If it’s a 5-gallon pot, use 5 cups of salt), peppercorns (also about 1 cup per gallon of water), lemons (3-5 lemons, cut in fourths), celery salt (1/2 cup per gallon of water), and maybe some rosemary and thyme (to taste, though I usually use plenty). If you want, go ahead and put even more seasonings! After all, overseasoning is better than under-seasoning. Then, place your turkey in the pot. Fill your pot the rest of the way with water. Cover the pot and let it rest in your fridge overnight.
Day 2: Drying (Wednesday)
If you want your turkey to be crispy (everybody wants it to be crispy), you must dry it. Now that the brining is over, it’s time to take it out of the fridge. Use a clean towel to dry the turkey as much as possible. Once it’s dry, rest uncovered in the refrigerator overnight. Doing this will dry it out more to let it get even crispier.
Day 3: Cooking (Thursday)

Separate the turkey’s skin from the meat here.
You’ll want to do this on Thanksgiving Day. Take your dried turkey out of the fridge and set it on the counter. Lift the skin above the turkey’s backside and slide your hand back as far as possible to separate the skin from the meat. Once it’s separated, use your hand to spread softened butter on the inside of the skin. You next want to rub the entire turkey with mayonnaise. I know it sounds gross, but trust me. A thin layer of mayonnaise will give the turkey EXCELLENT crispiness and won’t affect the taste. After that, you’ll want to fill the turkey with herbs, spices, vegetables, or fruits to cook with the bird. I like using apples, carrots, peppercorns, lemons, rosemary, thyme, and sage. Just fill the bird as much as possible! Finally, sprinkle the top of the turkey with rosemary, thyme, and sage.
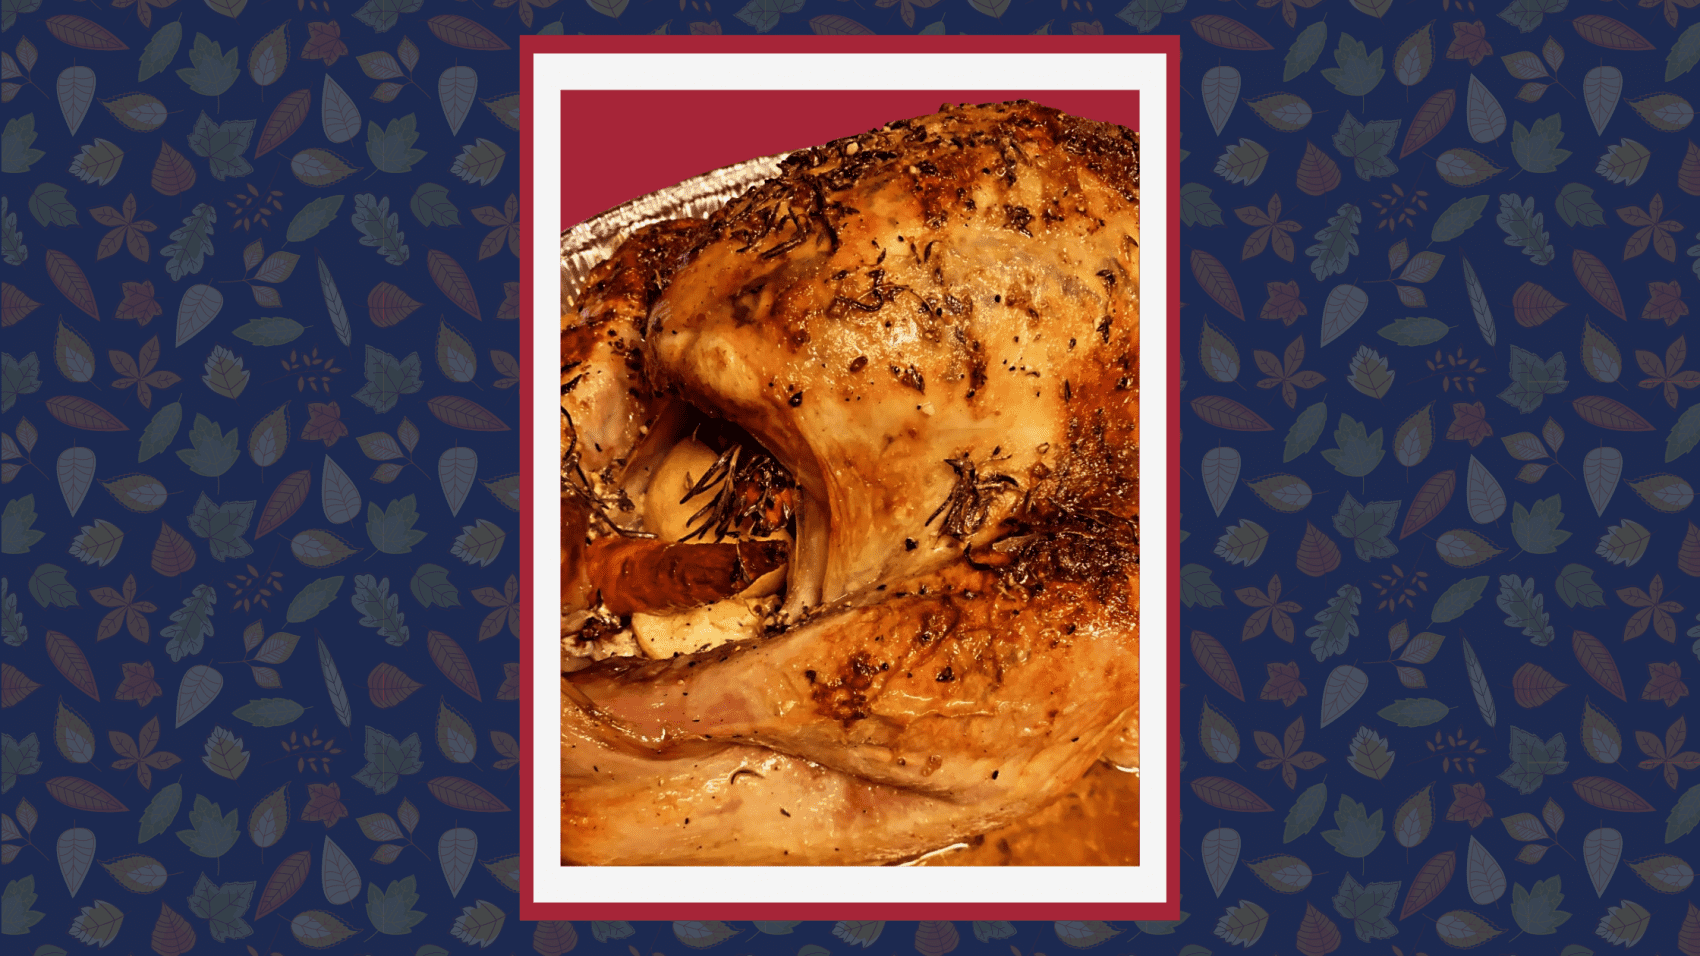
Place the turkey in the pan you’ll cook it in breast-side up. Pour a few cups of chicken stock into the base of the pan. Cut a long piece of tin foil and mold it over the turkey’s breasts to help it retain some moisture. To find the cooking time, multiply the weight of the turkey (in pounds) by 13. That’s about how many munites you need to cook the turkey at 350 degrees. Periodically use a spoon, ladle, or baster and carefully scoop up some of the chicken stock and melted butter that comes out on top of the turkey. Finally, when the turkey has one hour left, up the temperature to 400 degrees to make the skin extra crispy!
Once it’s cooked, it’s ready to carve! Enjoy! If you’d like some delicious recipes for side dishes, check out this blog!